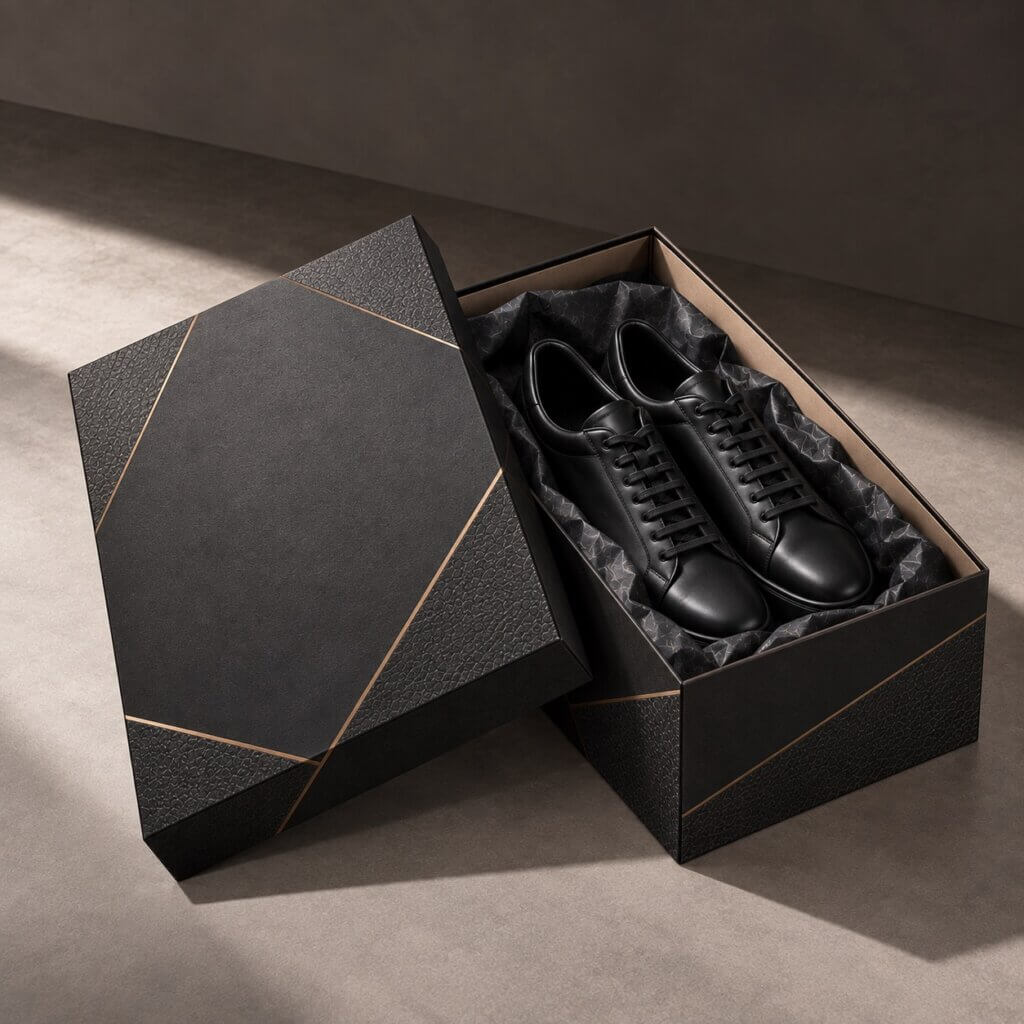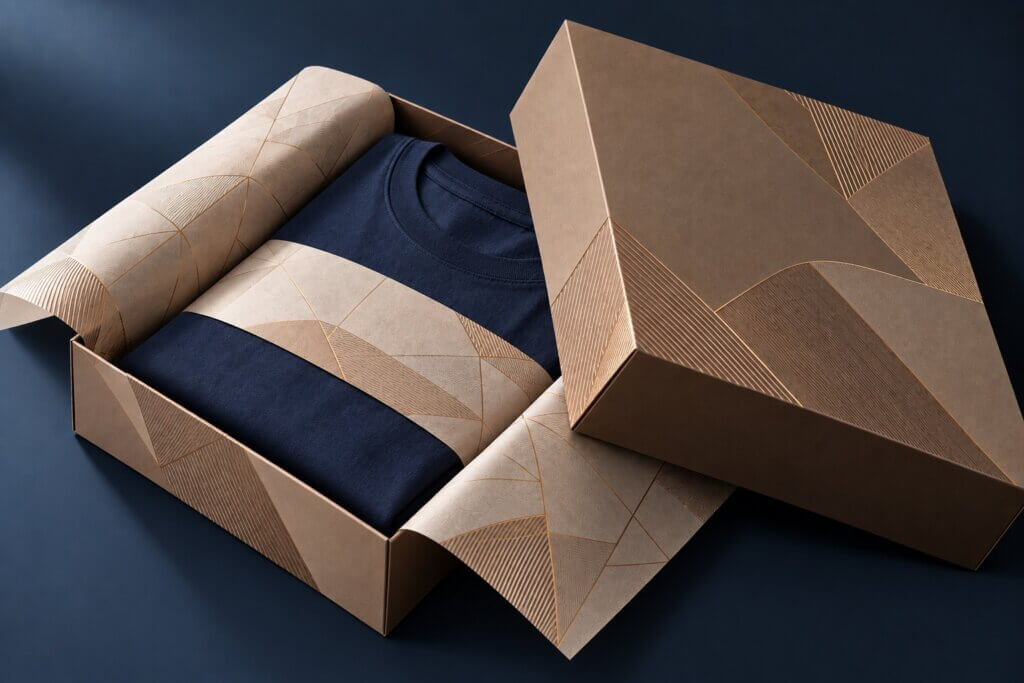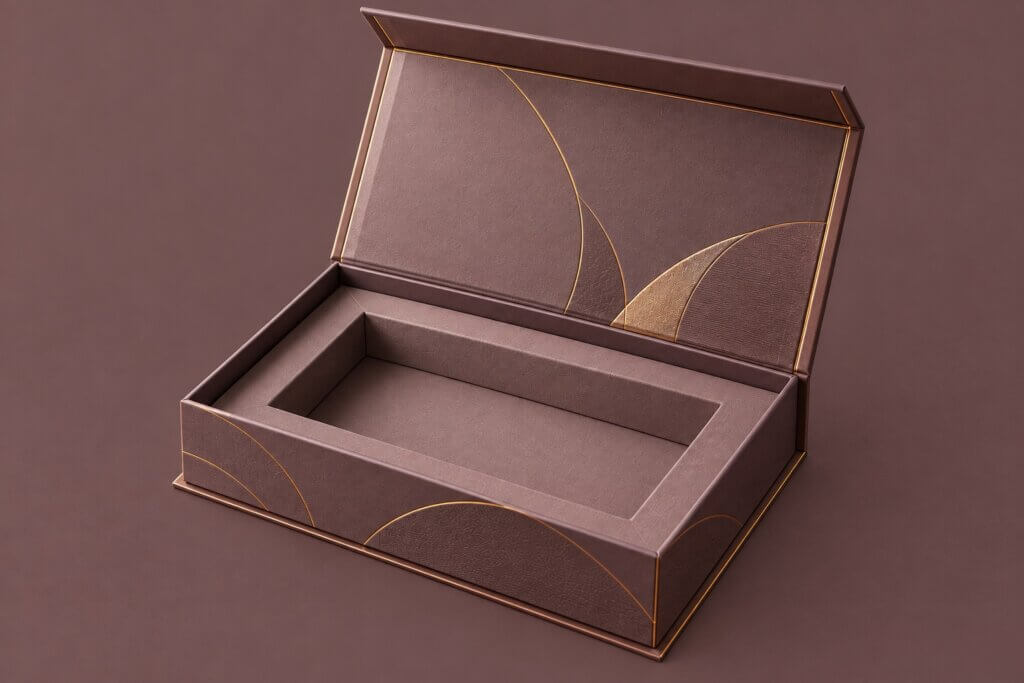

A packaging insert has two jobs that can easily work against each other. It needs to keep a product in the intended position during handling and transportation, but it also needs to let the customer remove that product without excessive force, awkward finger movements, or damage to the surface. An insert that performs only the first job may look secure in a sample yet create a frustrating opening experience.
This balance becomes especially important in custom packaging with inserts, where the internal structure is developed around a specific bottle, device, jar, accessory, or product set rather than a standard empty box. The insert may sit inside custom drawer boxes, folding cartons, rigid structures, or custom mailer boxes, but the engineering question remains similar: which movements need to be controlled, where should the product be supported, and where should enough clearance remain for removal?
A useful insert therefore does more than match the external dimensions of a product. It manages the relationship between movement, support, accessibility, material behavior, and manufacturing tolerance. Understanding that relationship is a better starting point than simply asking how tightly an insert should fit.
A Product Can Fit the Cavity and Still Be Poorly Supported
A common starting point for insert development is a set of product dimensions. Length, width, and height are necessary, but they do not fully describe how the product will behave inside the package. Two products with nearly identical bounding dimensions can require very different internal structures.
Consider a tall glass fragrance bottle and a rectangular electronic device of similar overall size. The bottle may have a heavy base, narrower shoulders, a removable cap, and a spray mechanism that should not carry load. The electronic device may have broad flat surfaces but vulnerable controls, connectors, or a display. Designing both inserts from their maximum length, width, and height alone would ignore the features that actually determine where restraint is safe.
This answers an important question often raised when brands begin developing packaging: what information is needed to design a box insert? Accurate dimensions are only the beginning. Weight, geometry, center of mass, fragile areas, surface sensitivity, preferred presentation orientation, accessory layout, and intended removal direction can all affect the structure.
The product itself should therefore be treated as part of the packaging system rather than as an object that is simply placed into a finished cavity.
The First Question Is Not “How Tight?” but “How Can the Product Move?”
Once the product geometry is understood, the next step is to identify unwanted movement.
Inside a closed package, a product may translate from side to side, move vertically, rotate, tilt, or lift away from its intended support. Different products present different risks. A cylindrical bottle may be particularly prone to rotation and lateral movement. A shallow cosmetic jar may be relatively stable vertically but difficult to grip if its sides are surrounded too closely. A multi-component electronics set introduces another problem: individual items can move independently and potentially contact one another.
This is why the frequently asked question “How tight should a packaging insert be?” does not have one universal dimensional answer. The objective is not maximum contact. The objective is controlled movement.
For example, preventing a bottle from moving laterally does not necessarily require its entire wall to be tightly enclosed. Strategic support around a stable portion of the body or base may control the necessary directions while leaving other areas relatively open. Likewise, an insert should generally avoid transferring unnecessary load to a pump, dropper, decorative cap, connector, switch, or another vulnerable feature simply because that feature happens to fall near the edge of the cavity.
A useful design sequence is therefore:
Identify movement → identify safe support zones → restrain only where necessary → preserve access for removal.
That sequence is more reliable than starting with the smallest cavity that can physically accept the product.
Good Restraint Comes From Support Points, Not Maximum Contact
Once the unwanted movement is known, the designer can decide where the insert should actually contact the product.
This distinction matters because more contact does not automatically create better protection. The structural role of a contact point depends on its location, the direction of force, the material surrounding it, and the product geometry. A support feature near the base of a bottle, for example, may carry vertical load while another feature limits sideways displacement. These two functions do not necessarily need to be performed by the same part of the insert.
This also explains how packaging inserts keep products from moving inside a box. The answer is not simply friction. Folded paperboard walls, locking tabs, platforms, collars, dividers, cavities, corrugated cells, or other structural features can redirect and limit movement mechanically. For multi-item packaging, separation can be just as important as restraint because preventing two components from contacting each other may reduce damage without requiring either component to be tightly compressed.
For paper-based structures in particular, the geometry of folds and supporting panels matters greatly. A well-positioned folded wall can resist movement through its shape rather than depending on excessive pressure against the product. This is one reason a carefully engineered paper insert can sometimes accomplish more than its apparent material thickness suggests.
But solving movement creates the next problem: if the product is now well restrained, how will someone take it out?
Removal Space Has to Be Designed at the Same Time as Restraint
A product can pass every visual inspection while sitting inside an open box and still be unpleasant to use. The problem often appears only when someone tries to remove it.
Imagine a cylindrical skincare container positioned neatly inside a closely fitted cavity. From above, the presentation may look precise. If the insert surrounds most of the container wall and only a small portion remains exposed, however, the user may not have enough surface to grip. Increasing the entire cavity size could solve the accessibility problem but introduce unwanted movement.
The better solution may be local rather than global.
Finger notches, side openings, exposed gripping zones, pull ribbons, lifting tabs, raised platforms, or carefully selected removal angles can create access without releasing the product in every direction. In other words, clearance should be placed where the user needs it rather than added equally around the entire product.

This answers another practical question: how do you make a fitted insert easier to use without making the product loose? Separate the restraint zones from the access zones. The same edge does not always need to perform both functions.
The intended opening sequence matters as well. A product lifted vertically from a rigid presentation box has different access requirements from a product sliding horizontally from a tray. In custom packaging with inserts, the insert should therefore be developed together with the opening direction of the outer package, not treated as an independent component added at the end.
Different Products Need Different Restraint and Removal Logic
Once restraint and accessibility are considered together, it becomes clear why one insert concept cannot simply be scaled across every product category.
For a fragrance or skincare bottle, the designer may need to control movement around the stable body while leaving the cap, pump, neck, or dropper free from unnecessary pressure. Glass also introduces impact and surface-contact considerations. The important question is not only how to package a fragile bottle, but which parts of the bottle can safely transfer load to the insert and which should remain isolated.
A low, wide cosmetic jar behaves differently. Its center of mass is generally lower, but a deeply recessed jar may become difficult to grasp. Raising the product slightly or opening part of the surrounding structure can sometimes improve removal without sacrificing lateral restraint.
Electronics introduce another layer of complexity. The main device may need one support strategy while cables, chargers, adapters, manuals, or small accessories need separate compartments. Here, the insert becomes an organizational structure as well as a protective one. A custom shape box or compartmented rigid structure may therefore be developed around the complete product set rather than around the main device alone.
Jewelry and watches shift the priority again. Their inserts often determine presentation angle and visual orientation in addition to movement. A necklace needs control that reduces tangling and unwanted displacement, while a watch may require support around a cushion or shaped platform. The correct structure depends on how the product should appear at the moment the package opens as much as on how it survives transport.
These examples lead naturally to the next decision. Once the required support, restraint, separation, and removal behavior are understood, the designer can choose a suitable insert material.
Material Should Follow the Structural Requirement
A common search question is “What material is best for packaging inserts?” There is no material that is inherently best for every application. Choosing paperboard, corrugated board, foam, molded fiber, or another material before understanding the product can reverse the correct development process.
Paperboard inserts can use folds, tabs, slots, platforms, and multiple supporting planes to locate relatively light products while maintaining a clean paper-based presentation. Corrugated structures provide additional thickness and can be useful where heavier products, larger cavities, component separation, or transport protection require more structural depth. Foam can provide close contouring and cushioning for certain sensitive products, while molded fiber can form shaped support surfaces where its tooling, appearance, order volume, and performance suit the project.
So, are paper inserts strong enough to protect a product? Sometimes yes, but the answer depends on the load path and structure rather than the word “paper.” A folded insert that transfers weight through supported panels can behave very differently from a flat sheet with a simple opening. Product weight, unsupported spans, board stiffness, fold direction, locking features, and the outer box all contribute to performance.
For brands seeking more paper-based solutions, custom folding cartons and rigid paper packaging can also be engineered so that the insert and outer box share structural work. The important point is that material selection should follow the functional requirements established earlier—not replace them.
A Prototype Should Test Actions, Not Just Appearance
Once the structure and material have been selected, a physical sample becomes important because drawings cannot fully reproduce the interaction between real material and a real product.
The first check is obvious: does the product fit? But stopping there misses much of the purpose of prototyping. The product should be inserted and removed repeatedly. The package should be handled in the orientations it is likely to experience. Designers should observe whether the product shifts, rotates, catches on an edge, rubs against a printed or finished surface, deforms the insert, or requires an awkward amount of force to remove.
This addresses another common question: how can you test whether a custom insert fits correctly? Evaluate both retention and interaction. A product that remains perfectly still but requires excessive pulling is not necessarily a successful fit; neither is a product that lifts beautifully but moves noticeably inside the closed package.
For fragile or shipping-sensitive products, more formal transport or drop testing may be required depending on the product, distribution route, and performance target. A presentation sample alone should not be assumed to validate transport protection.
Prototype testing therefore closes the first design loop—but it does not yet prove that the insert is ready for mass production.
The Best Sample Fit Can Become the Wrong Production Fit
This is where insert engineering becomes a manufacturing problem.
A handmade or carefully adjusted prototype represents one combination of dimensions. Mass production introduces variation. Paper and board have thickness tolerances. Die-cutting and creasing introduce positional variation. Folding and gluing affect final geometry. Wrapped rigid structures accumulate tolerances through board cutting, wrapping material, adhesive, and assembly. The products being packed can also vary slightly from unit to unit.
If the insert only works when every dimension is at its nominal value, small variations can stack in the same direction. Some finished packs may become tighter than the approved sample while others become looser.
This is why the question “How much clearance should a packaging insert have?” cannot responsibly be answered with one universal number. Required clearance depends on the product, material, manufacturing process, geometry, surface, desired restraint, and the tolerances of both the package and the packed product.
A more useful engineering question is:
What range of dimensional variation can this structure tolerate while still holding and releasing the product correctly?
That changes the goal from achieving one perfect sample to creating a stable production window.
For paper inserts, this may mean designing tabs, folds, contact surfaces, or relief areas that accommodate reasonable variation rather than depending on an extremely tight cutout. For a product with a delicate decorative finish, it may also mean ensuring that the worst-case tight condition does not create damaging friction.
A successful insert therefore needs tolerance, not just accuracy.
A Good Insert Manages the Entire Product Interaction
The development process now comes full circle. At the beginning, the problem appeared simple: stop a product from moving inside a box. But controlling movement leads to questions about support points; support leads to accessibility; accessibility depends on product geometry; geometry influences material and structure; and a successful prototype must ultimately survive normal manufacturing variation.
That is why effective custom packaging with inserts should be developed from the actual product and its intended interaction with the package—not from cavity dimensions alone.
The final structure needs to balance protection, presentation, removal, and production consistency. A good insert does not hold every surface as tightly as possible. It controls the movements that matter, supports the areas that can safely carry load, leaves access where the customer needs it, and continues to perform when the project moves from one approved sample into repeatable production.
At Demei Packaging, most custom packaging projects start from 500 pieces. For projects that require a fitted insert, providing accurate product dimensions, weight, product samples where practical, fragile or pressure-sensitive areas, preferred presentation direction, and the intended opening experience gives structural development a much stronger starting point.